Easy Tech Tuts
How to Connect GoDaddy Domain to Webflow, Add Easily 2026
By Impran M N
Pointing a domain you bought on GoDaddy at a Webflow site comes down to two connected steps: telling Webflow which domain to expect, and telling GoDaddy where to send visitors who type that domain in. Get the order or the record types wrong and you either end up with a domain that never resolves, or — worse — one that breaks the email inbox running on the same domain. This guide walks through Webflow's publish destination panel where the custom domain gets added, and the GoDaddy side where DNS actually lives, with the email-safety checks that matter most.
01Open the publish panel in Webflow
In the Designer, click the Publish button in the top right to open the destination picker. It's split into two sections: Staging, which is your free webflow.io subdomain and is already checked by default, and Production, where you'll see an "Add a custom domain" link once no custom domain is attached yet. This is also where you'll see status details later — when the site was last published, and whether a domain is currently active — so it's worth bookmarking this panel mentally as your control center for anything domain-related.
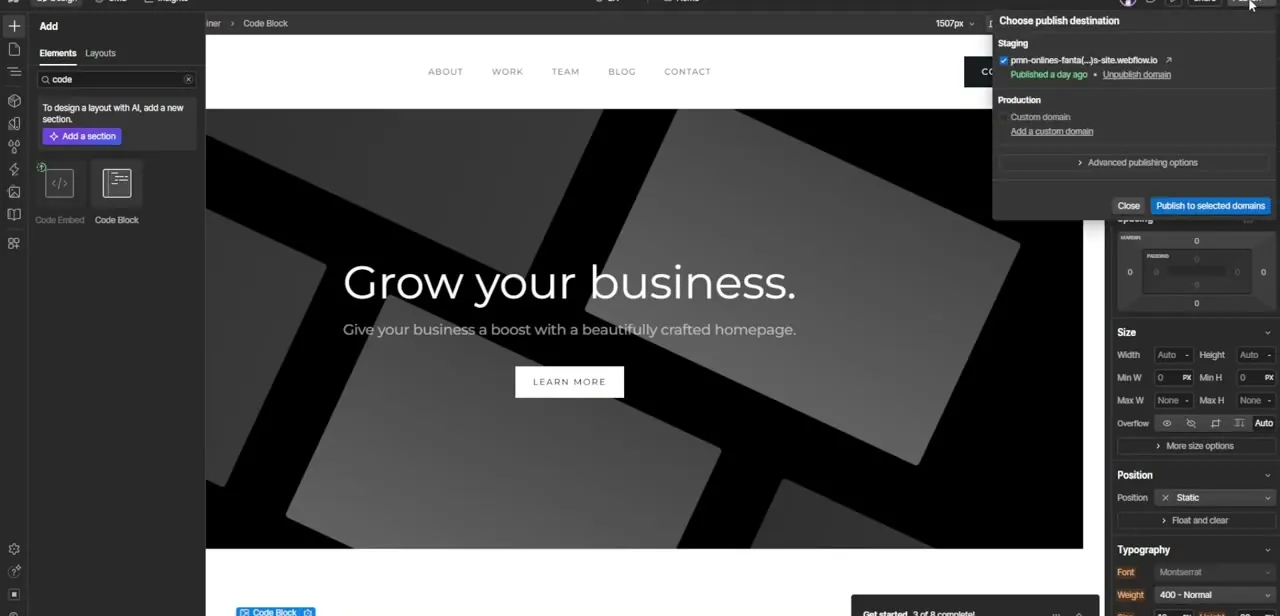
02Add the domain and get your DNS values
Clicking Add a custom domain prompts you to type in the domain exactly as you own it — no https:// prefix, just the bare domain. Webflow then generates the specific records your DNS needs to point at it: typically an A record for the root domain, a CNAME for the www subdomain, and sometimes a TXT record used purely to verify you actually control the domain before Webflow will serve traffic on it. Copy these values somewhere you can paste from, since you'll need them on the GoDaddy side next.
03Log into GoDaddy and open DNS management
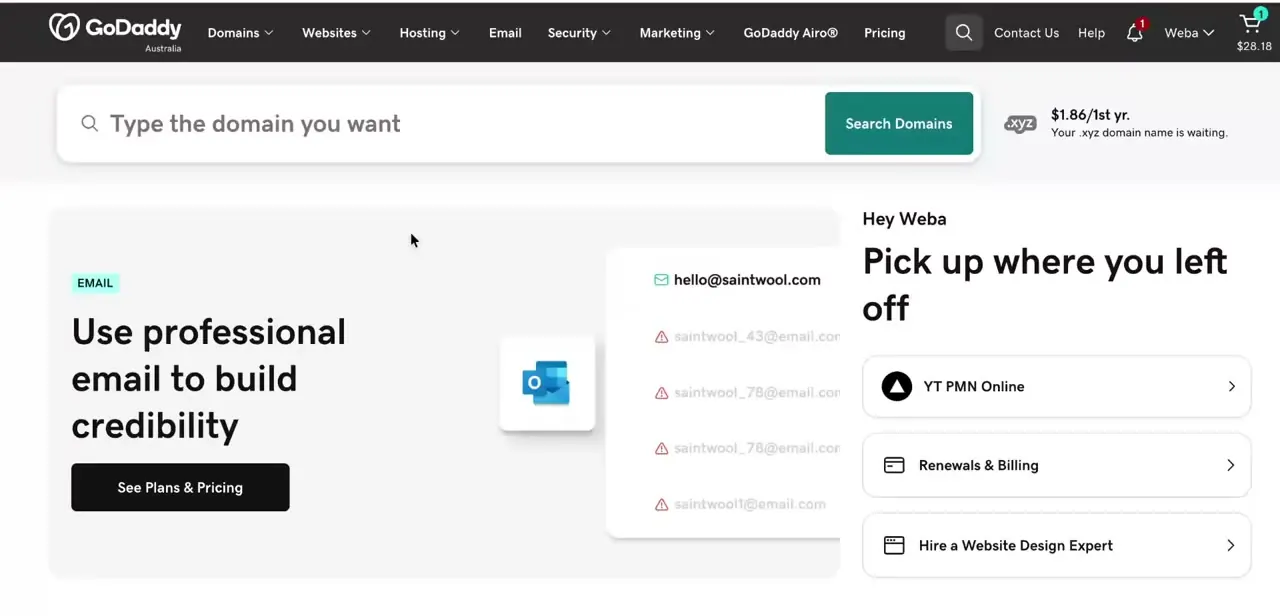
From your GoDaddy account dashboard, go to the Domain section for the site you're connecting. This is the same account hub where you manage renewals, billing, and any hosting products tied to the domain, so make sure you're editing DNS on the correct domain if you manage more than one — a wrong edit here affects live traffic immediately, not after a review step.
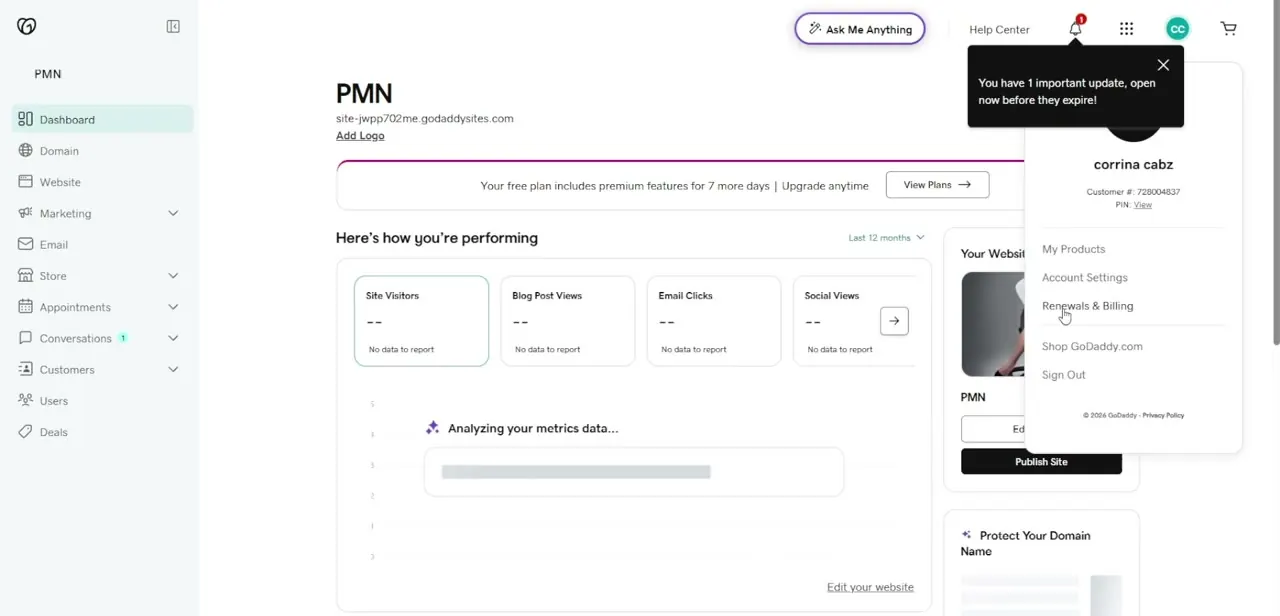
04Add the A, CNAME, and TXT records
In GoDaddy's DNS records editor, add or edit the A record so it points at the IP address Webflow gave you, add a CNAME record for www pointing at Webflow's proxy host, and add the TXT record with the verification string exactly as copied — a single mismatched character will fail verification. Before saving anything, scroll through the existing record list and confirm your MX records are untouched; those are what route your email, and they live in the same table as the records you're about to change, which is exactly how people accidentally break their inbox during a domain move.
05Set your default domain in Webflow
Back in Webflow's domain settings, decide whether the root domain or the www version should be the canonical one that the other redirects to — search engines treat these as separate URLs unless you pick one, so leaving both live without a redirect can quietly split your SEO signals. Most sites default to the root domain, but either choice works as long as it's consistent.
06Check propagation and publish
DNS changes don't take effect instantly — propagation can run from a few minutes up to 48 hours depending on your previous records' TTL settings. Use any DNS checker to confirm the new records are visible, then go back to the publish panel, check your new domain alongside staging, and click Publish. SSL provisions automatically once Webflow confirms the domain is correctly pointed, so if the certificate isn't active yet, that's usually a sign DNS hasn't fully propagated rather than a Webflow-side problem.
Frequently asked questions
Will connecting my domain break my existing email?
It shouldn't, as long as your MX records are left untouched while you add the A, CNAME, and TXT records for Webflow — check the full record list in GoDaddy before saving any changes.
Do I need both an A record and a CNAME record?
Typically yes — the A record points your root domain at Webflow's IP, while the CNAME handles the www subdomain, and Webflow's custom domain screen shows you the exact values to use for both.
How long does it take for the domain to go live?
DNS propagation can take anywhere from a few minutes to 48 hours depending on your provider and the TTL on your existing records, so don't panic if it's not instant.
Why isn't my SSL certificate showing as active?
SSL provisioning depends on DNS fully propagating first, so give it time and recheck the domain status in Webflow's publish panel before assuming something is broken.
Should I point my root domain or my www subdomain as the default?
Either works, but pick one as canonical and let the other redirect to it — leaving both live without a redirect can split your search rankings across two URLs.
Watch the full walkthrough
The same steps, demonstrated on screen from start to finish.