Easy Tech Tuts
How to Connect GitHub to Claude AI | Full Setup Guide | Easily 2026
By Impran M N
Linking GitHub with Claude brings your repositories directly into conversation with the AI you already use for coding help, instead of pasting code snippets back and forth. The setup itself is a short OAuth authorization, but knowing exactly where that connector lives inside Claude's settings — and what access it actually grants — saves you from hunting through menus.
This guide walks through the authorization flow from both sides, GitHub's permission screen and Claude's connectors panel, and shows what to check to confirm the integration actually took. It also covers what changes day to day once the connection is live, and how to manage access responsibly if you're using it on a shared team account.
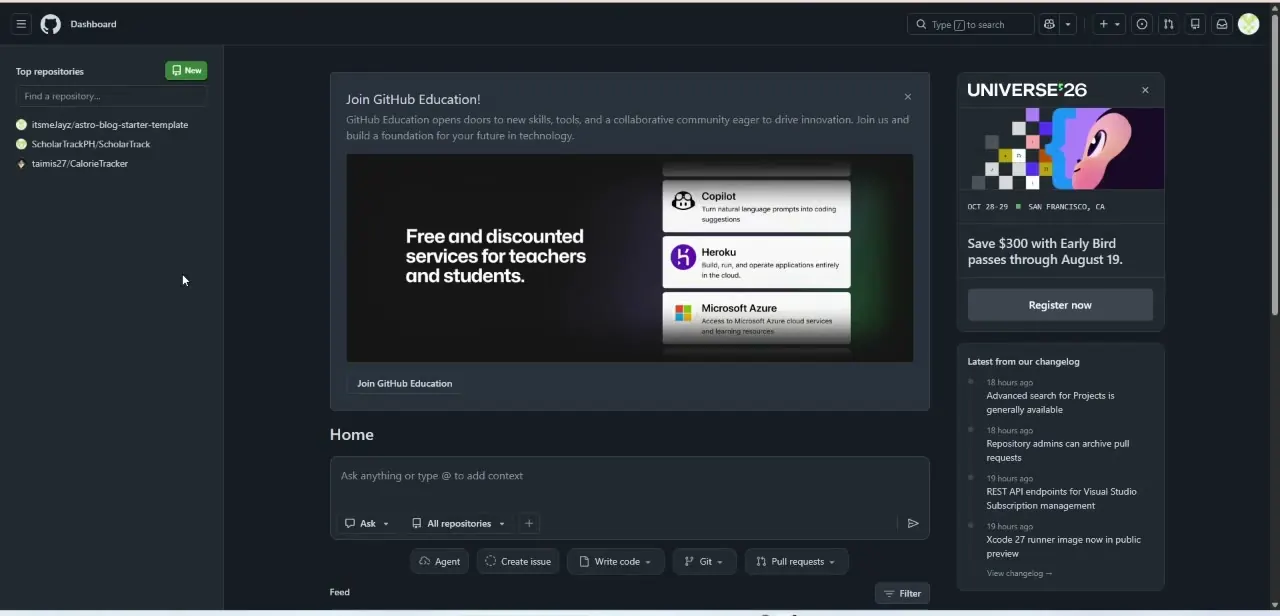
01Check your GitHub dashboard is ready
Before starting the connection, make sure you're signed into the GitHub account you actually want Claude working against — the dashboard shows your top repositories in the left sidebar, which is a quick way to confirm you're in the right account if you manage more than one. You don't need to change anything here; this is just your starting point, and the repositories visible now are the ones Claude will be able to see once the integration is authorized. If you work across a personal account and an organization account, decide up front which one you're connecting, since switching later means repeating the whole authorization flow from GitHub's side.
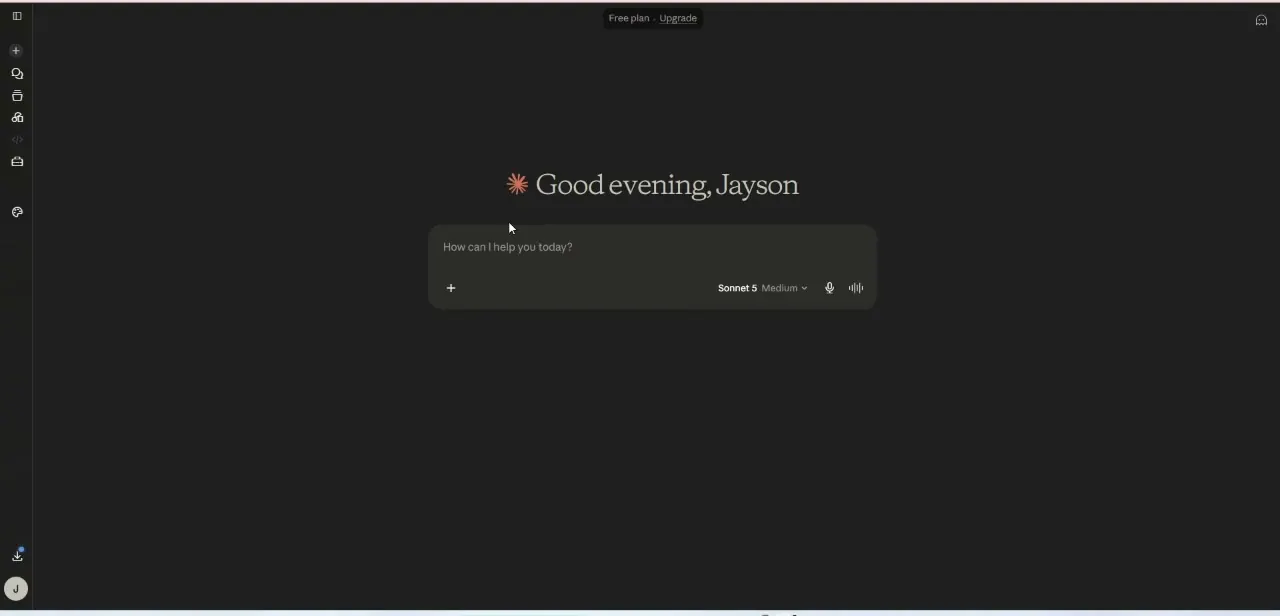
02Open Claude and head to Settings
In Claude, the connection lives under Settings rather than anywhere in the main chat interface, so from the home screen open the settings panel and look for Connectors in the Customize section. This is also where Skills and Plugins live if you want to extend Claude further later, but for GitHub specifically, Connectors is the only stop you need. It's easy to assume an integration this central would be surfaced somewhere in the chat window itself, so knowing it's a settings-level feature rather than a chat feature saves you a few minutes of searching the wrong place.
03Authorize Claude to access your GitHub account
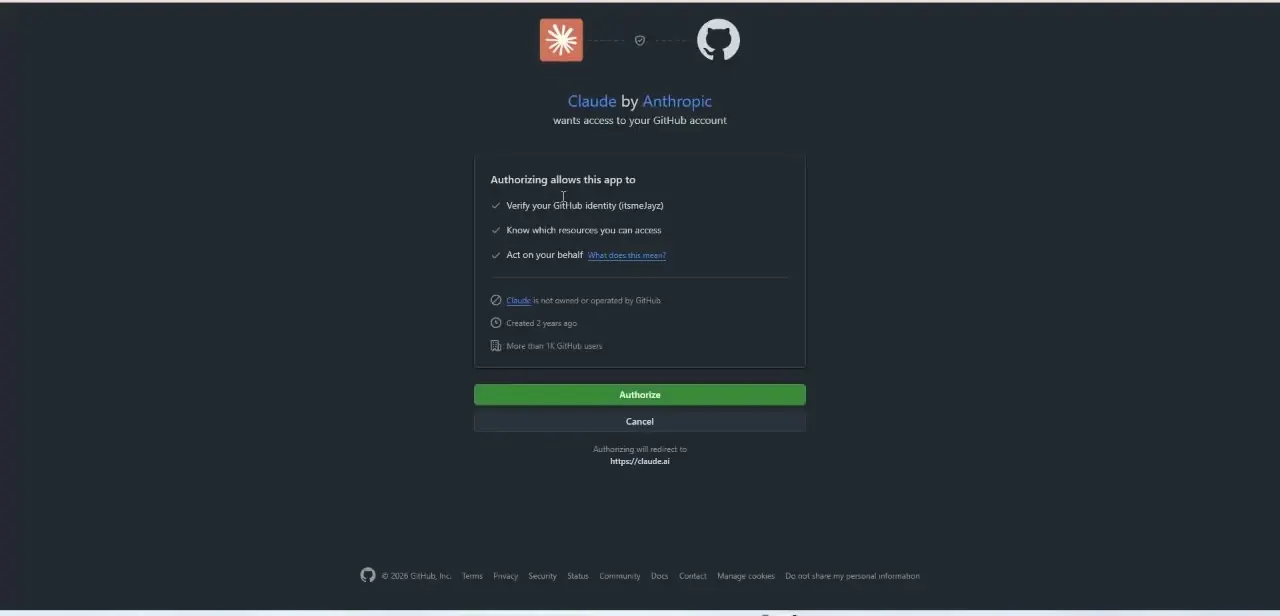
Adding the GitHub connector redirects you to a GitHub authorization screen headed "Claude by Anthropic wants access to your GitHub account." Read the permission list before clicking through — it spells out exactly what you're granting: verifying your GitHub identity, knowing which resources you can access, and acting on your behalf. GitHub also shows how long the app has existed and roughly how many users already use it, which is a useful sanity check before authorizing anything. Click Authorize and you'll be redirected back to Claude automatically.
04Confirm the connector is active
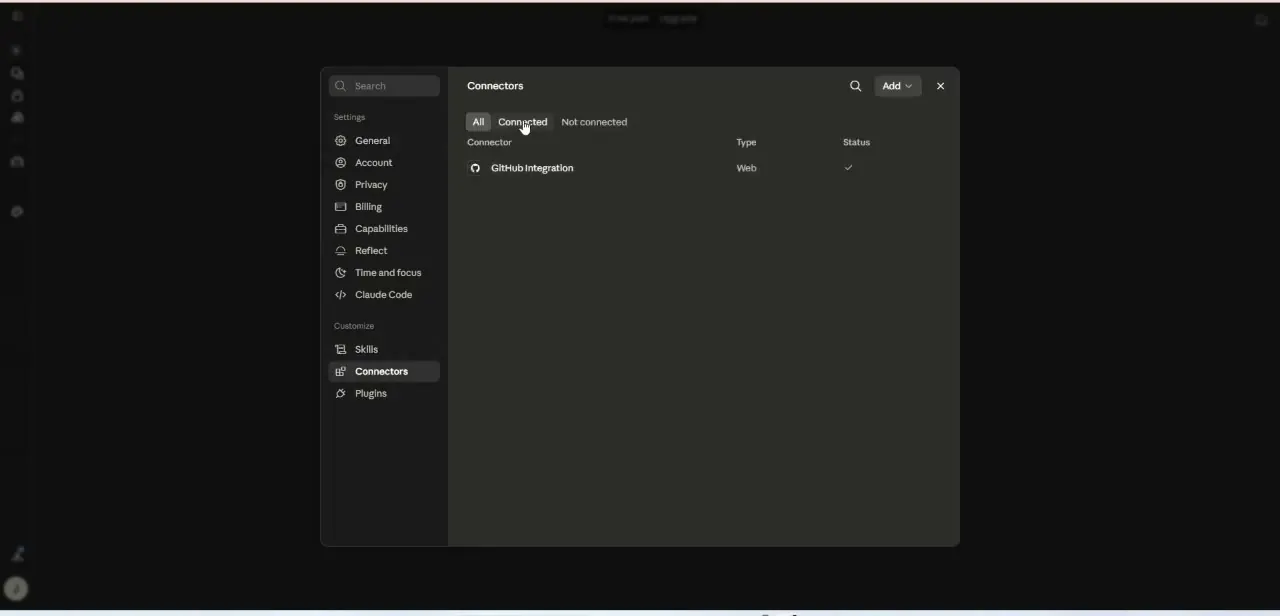
Back in Claude's Connectors settings, switch to the Connected tab and you should see GitHub Integration listed with a Web type and a checkmark under Status. This is the confirmation that the OAuth handshake actually completed — if it's missing here, the authorization didn't go through and you'll need to repeat the previous step rather than assuming it's working in the background.
05Start referencing your repositories in chat
With the connector active, you can ask Claude about a specific repository by name, request a summary of recent activity, or have it help draft an issue or pull request description grounded in your actual code rather than a hypothetical example. This is the practical payoff of the setup — Claude can pull real context from your GitHub account instead of you copying files or diffs into the chat manually. It's particularly useful when you're jumping into a repository you haven't touched in a while, since asking Claude for a quick orientation is faster than reading through commit history yourself.
06Manage or revoke access later
If you ever want to disconnect GitHub, the same Connectors panel in Claude's settings is where you'll remove it, and GitHub's own account settings under Applications will also show Claude listed with the ability to revoke access from that side. Doing this occasionally is good hygiene, especially if you've changed which repositories you want an AI tool to see, since revoking and reconnecting is the cleanest way to reset permissions.
07Use it well in a team setting
If you're on a shared team account, agree on a convention for how the connector gets used before everyone starts asking Claude to touch the same repositories — for instance, treating Claude-drafted pull request descriptions as suggestions to review rather than something that gets merged unread. The integration is genuinely useful for cutting down the time spent writing boilerplate documentation and issue summaries, but it works best as a drafting assistant sitting alongside your team's existing review process, not a replacement for it.
Frequently asked questions
What can I do once GitHub is connected to Claude?
Claude can reference your actual repositories in conversation — summarizing activity, helping draft issues or pull requests, and answering questions grounded in your real code instead of hypothetical examples.
Where exactly do I connect GitHub inside Claude?
Open Claude's Settings, go to the Customize section, and choose Connectors. Adding GitHub there starts the OAuth flow on GitHub's side.
What access does Claude actually get when I authorize it?
GitHub's authorization screen spells this out explicitly: verifying your GitHub identity, knowing which resources you can access, and acting on your behalf. Review that list before clicking Authorize.
How do I confirm the integration actually worked?
In Claude's Connectors settings, check the Connected tab — GitHub Integration should appear with a checkmark under Status. If it's not listed there, the authorization didn't complete.
How do I disconnect GitHub from Claude later?
Remove it from the Connectors panel in Claude's settings, or revoke access directly from GitHub's Applications settings — either side works.
Watch the full walkthrough
The same steps, demonstrated on screen from start to finish.