Easy Tech Tuts
How to Create a Udemy Course | Start to Finish | Easily 2026
By Impran M N
Creating a Udemy course starts well before you touch a camera — it starts with the instructor dashboard and a short setup wizard that shapes how Udemy positions your course from day one. Getting the early steps right, from validating your idea to answering Udemy's planning questions honestly, makes the production and structuring work that follows much easier.
This guide walks through the actual screens you'll see, from your instructor dashboard through the working-title and time-commitment prompts, then covers producing, structuring, and marketing the finished course. It's designed for anyone new to course creation, from aspiring instructors to entrepreneurs looking to monetize their expertise.
01Brainstorm and validate your course idea
Before opening Udemy at all, identify a topic you can teach with genuine depth and confirm there's demand for it — search existing Udemy courses in the same space to see how many students they've attracted and what reviews say is missing. A crowded category isn't necessarily a bad sign; it usually means there's a proven audience, and your job becomes finding the angle those existing courses don't cover well.
02Open your instructor dashboard
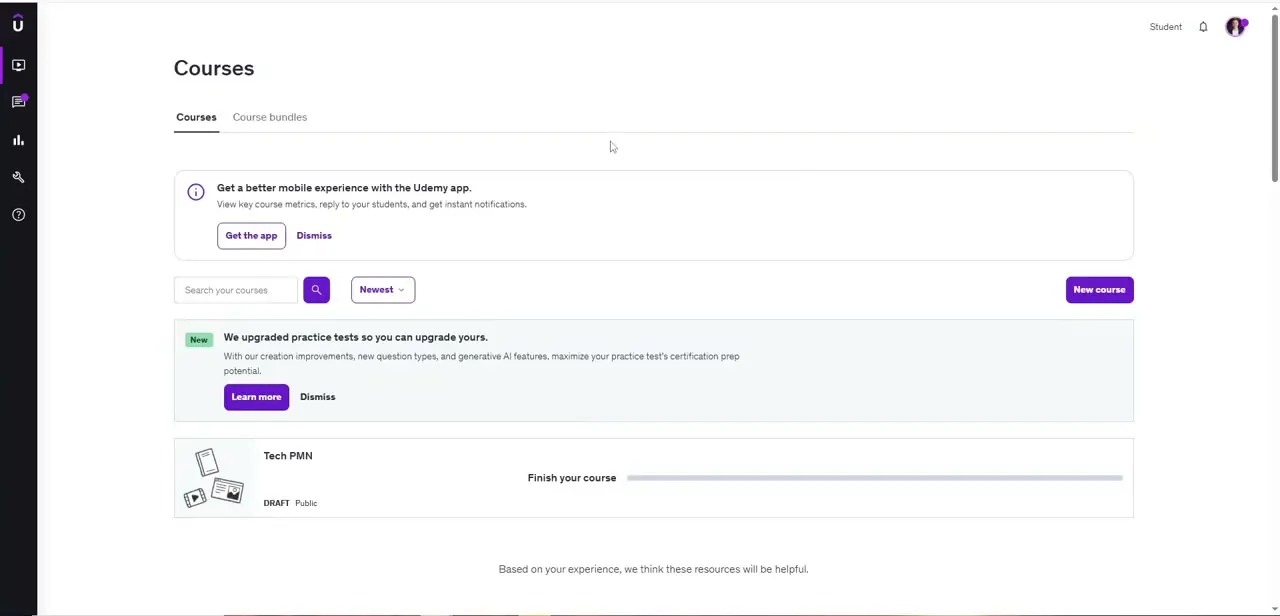
Once you're signed in as an instructor, the Courses tab in your dashboard lists everything you've published or started, each with its status clearly marked — a course still in progress shows as DRAFT alongside a progress bar like "Finish your course." The New course button sits in the top-right of this same page, which is where the actual creation flow begins. If you've ever abandoned a draft, this is also where you'd find it again rather than starting over.
03Work through the course-creation wizard
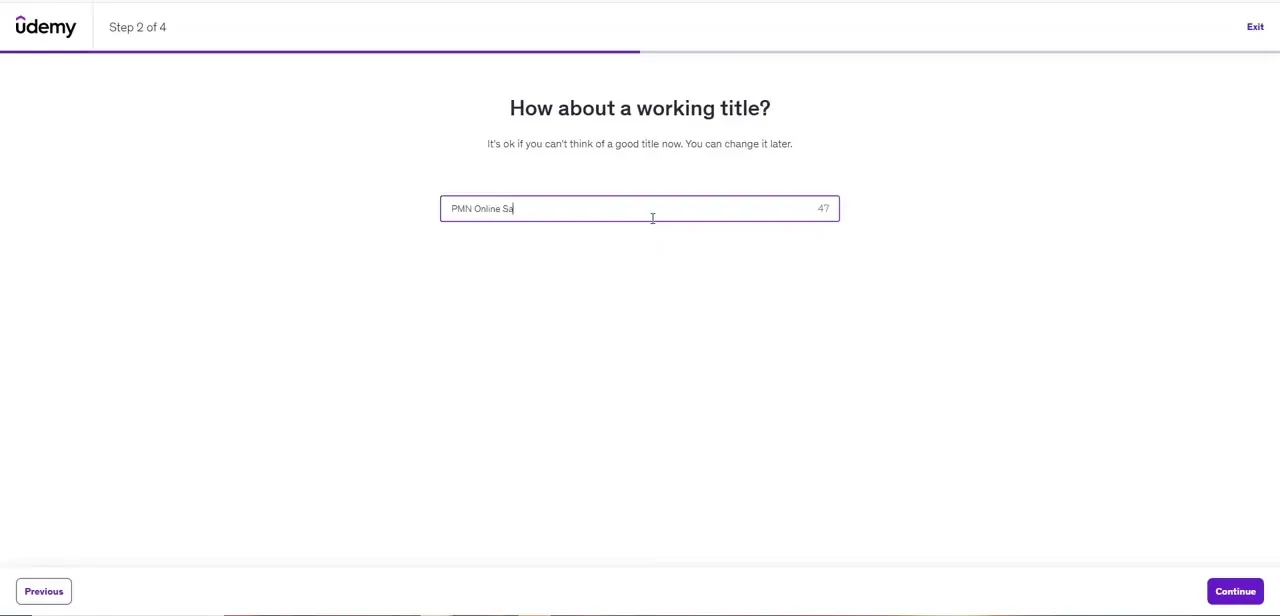
Clicking New course starts a short, numbered wizard — four steps in total, shown as a progress bar at the top of the screen. Step 2 asks for a working title, and Udemy is explicit that it doesn't need to be final: the placeholder text reassures you that you can change it later, so don't stall here trying to write the perfect headline. Type something descriptive enough to keep you oriented and move on; you'll refine the title once you know how the course actually turned out.
04Answer Udemy's planning questions honestly
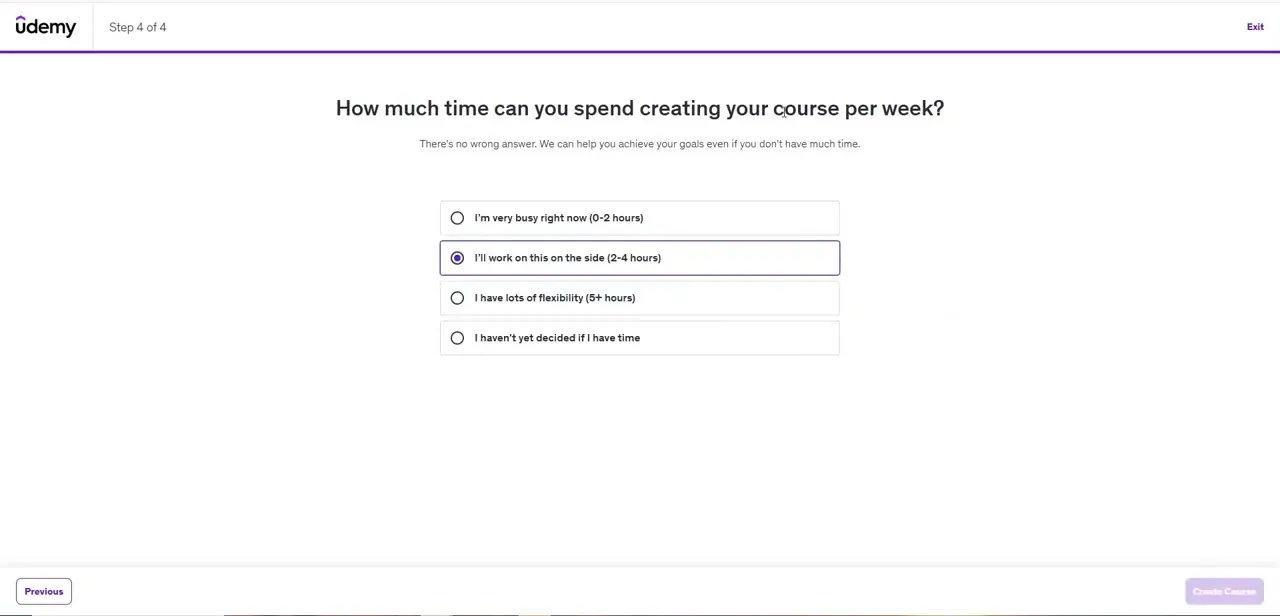
The final step of the wizard asks how much time you can realistically spend creating your course per week, with options ranging from "I'm very busy right now (0-2 hours)" up to "I have lots of flexibility (5+ hours)." This isn't a productivity test — Udemy uses your answer to calibrate the guidance and milestones it shows you afterward, so answering accurately gets you a more realistic production timeline instead of one that assumes far more free time than you actually have.
05Create your video content
With the course shell created, move on to recording. Lessons that clearly walk through one concept at a time tend to outperform long, unstructured recordings, since production quality and pacing directly affect how students perceive and stick with a course. Keep individual videos focused — a five-minute lesson that covers exactly one idea beats a twenty-minute one that wanders across three.
06Structure your course material
Organize your recorded lessons into sections that build on each other logically, rather than dumping every video into one long list. Udemy's course builder groups lessons into sections and lectures, and students engage far better with a course that has clear checkpoints than one that feels like a single unbroken stream of content.
07Market your course after it's live
Publishing isn't the finish line — visibility is just as important as content quality. Promote the course through Udemy's own marketing tools, share it in relevant communities, and consider using AI-assisted tools for tasks like video editing or automated email follow-ups to save time as you keep improving the course after launch.
Frequently asked questions
Do I need prior teaching experience to create a Udemy course?
No. The course-creation wizard is designed to be beginner-friendly and doesn't assume prior teaching experience to get started.
Can I change my course title after starting the wizard?
Yes. Udemy explicitly tells you the working title you enter in Step 2 of the wizard can be changed later, so don't hold up your setup trying to finalize it early.
How long does it take to create a Udemy course?
Timelines vary by course length and complexity. Udemy asks you upfront how many hours per week you can commit, and uses that to help set realistic expectations for your production pace.
Can AI tools help with creating a Udemy course?
Yes, AI can assist with tasks like video editing and marketing follow-ups, which can speed up production and let you focus more on the actual teaching content.
How do I make money from a Udemy course?
Creating and publishing a course lets you monetize your expertise directly, while also building your visibility and credibility as an expert in your field.
Watch the full walkthrough
The same steps, demonstrated on screen from start to finish.