Easy Tech Tuts
How to Remove Jotform Branding From a Website Easily 2026
By Impran M N
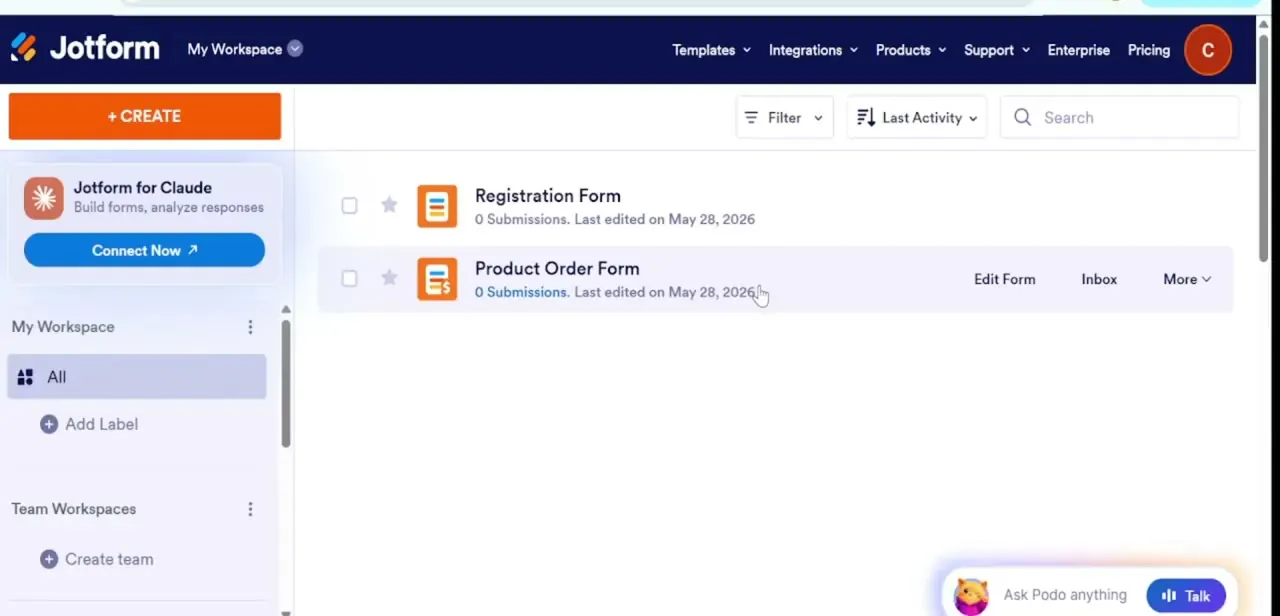
The default "Powered by Jotform" footer is a small thing, but it undercuts an otherwise polished, custom-branded site — especially if you're an agency handing a form off to a client. Turning it off isn't buried in the form builder itself; it's an account-wide setting, which means it's easy to look in the wrong place. This guide covers finding the branding toggle through your profile menu, disabling it, and understanding when your plan tier might get in the way.
01Open the account menu from your profile icon
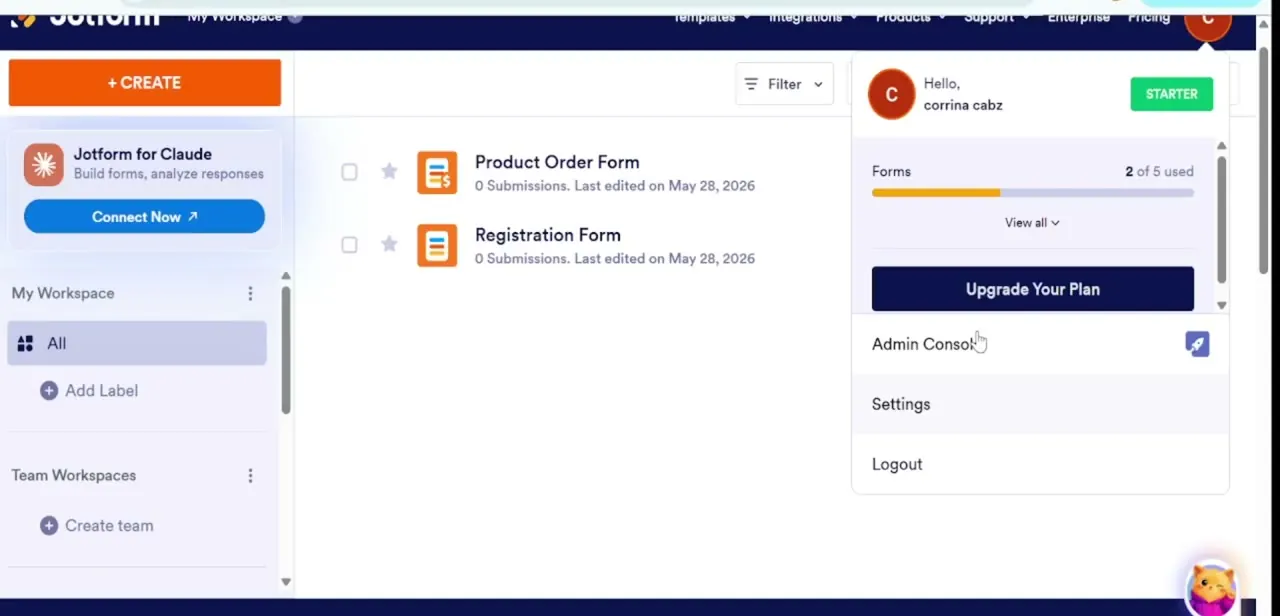
Click your avatar in the top-right corner of any Jotform screen to open the account dropdown. It shows your plan tier at a glance — Starter in this case — along with a Forms usage bar, an Upgrade Your Plan button, and links to Admin Console, Settings, and Logout. Branding controls live under Settings, not inside any individual form's build view, which is the detail that trips most people up.
02Go to Settings and scroll to Jotform Branding
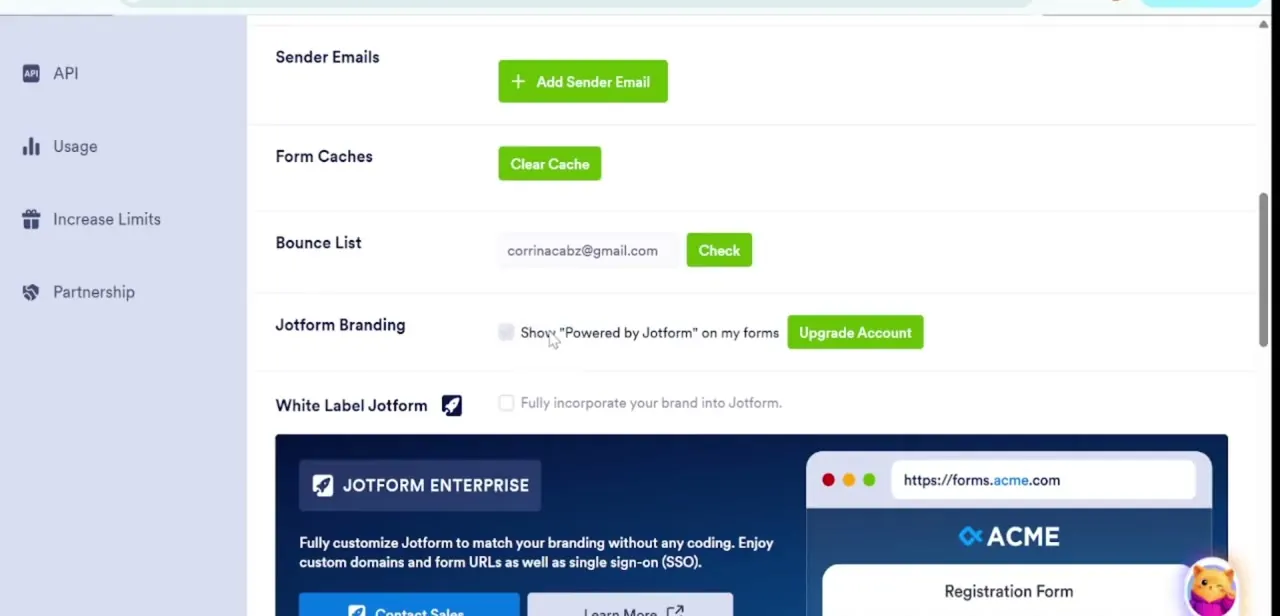
Click Settings from that dropdown and scroll down past general account options like Sender Emails, Form Caches, and Bounce List until you reach the Jotform Branding section. This is a good spot to also glance at Form Caches and Bounce List while you're there, since a stale cache can make a branding change look like it didn't take effect even after you've saved it.
03Uncheck "Show Powered by Jotform on my forms"
The Jotform Branding row has a single checkbox labeled "Show 'Powered by Jotform' on my forms," sitting next to an Upgrade Account button. Unchecking it removes the footer tag from your forms going forward. Right below it is a separate White Label Jotform option for fully incorporating your own brand into the platform itself — that's a bigger, Enterprise-level feature and not required just to drop the footer text.
04Confirm your plan supports the change
The Upgrade Account button next to the checkbox is a signal, not just decoration — removing branding is often gated to a paid tier rather than available on every free account. If the checkbox won't toggle or reverts after saving, that's usually your plan tier talking, not a bug, and upgrading is the actual fix.
05Check that emails are clear too
The branding setting is meant to cover both your live forms and the automated confirmation emails Jotform sends after a submission. Send yourself a test submission after saving the change and check the confirmation email footer specifically — it's easy to verify the form looks clean and forget the email is a separate touchpoint.
06Refresh any embedded or WordPress versions
If your form is embedded on a website — WordPress or otherwise — the embed frame can cache the old branded footer even after your account setting is updated. Refresh the page the form is embedded on, and if it's a WordPress site with its own caching plugin, clear that cache too so visitors see the unbranded version immediately rather than after their next browser cache expires.
Frequently asked questions
Is removing Jotform branding available on the free plan?
Removing the branding footer is often tied to a paid account tier, so check your plan's requirements before assuming it's available.
Does this also remove branding from confirmation emails?
Yes, the branding setting is designed to clear promotional tags from both your live forms and automated confirmation emails.
Will removing branding affect an already-embedded form on WordPress?
You may need to refresh your WordPress or website embed frame after making the change for the unbranded version to display.
Can I remove branding from individual forms only?
The branding toggle is typically an account-wide setting rather than something adjusted per individual form.
Watch the full walkthrough
The same steps, demonstrated on screen from start to finish.