Easy Tech Tuts
How to Export Jotform to Excel Easily 2026
By Impran M N
Processing a large batch of respondent data usually means getting it into a spreadsheet, and Jotform Tables makes exporting to Excel straightforward. This guide covers filtering out test entries, using the download panel to select the Excel format, and verifying that column headers and dates line up correctly once opened.
01Open Jotform Tables
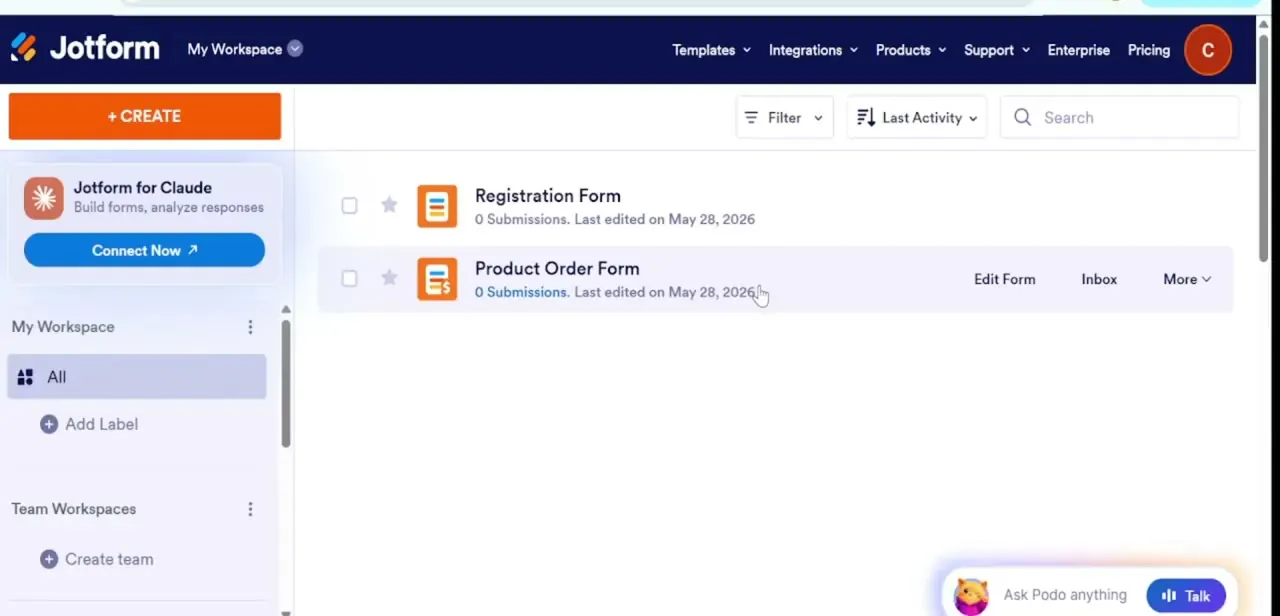
Navigate to your form dashboard and switch into the Jotform Tables view matrix.
02Filter your responses
Apply filters by date or completion criteria to exclude redundant test entries before exporting.
03Open the download panel
Click the Download All button on the right-hand toolbar to begin the export process.
04Select the Excel format
Choose the Microsoft Excel option to initiate the file compilation and download.
05Verify the spreadsheet
Locate the downloaded .xlsx file and check column header mappings and layout integrity inside the Excel grid.
Frequently asked questions
Can I filter out test submissions before exporting?
Yes, applying filters by date or completion status before clicking Download All lets you exclude test entries from the Excel file.
Does the export include multiple tabs for complex forms?
Multi-tab configurations are used for more complex forms with repeated sections, so review the exported workbook's tabs after download.
Will custom field data be included in the Excel export?
Yes, all mapped submission fields and their responses are included in the exported spreadsheet.
Why do some column headers look misaligned after exporting?
This can happen with complex or nested field types, so review the header mappings inside Excel and adjust formatting as needed.
Watch the full walkthrough
The same steps, demonstrated on screen from start to finish.