Easy Tech Tuts
How to Connect Jotform and Zapier Easily 2026
By Impran M N
Manually copying new form submissions into a spreadsheet or CRM wastes time that Zapier can automate entirely. This guide covers setting Jotform as your Zap's trigger, authenticating your account, and mapping submission fields into whatever action app you choose to send data to.
01Create a new Zap
Log into Zapier and click Create Zap to start a new automation workflow.
02Select Jotform as the trigger
Choose Jotform as your trigger app and pick a trigger event, such as New Submission.
03Authenticate your account
Grant Zapier access to your Jotform credentials so it can read submission data.
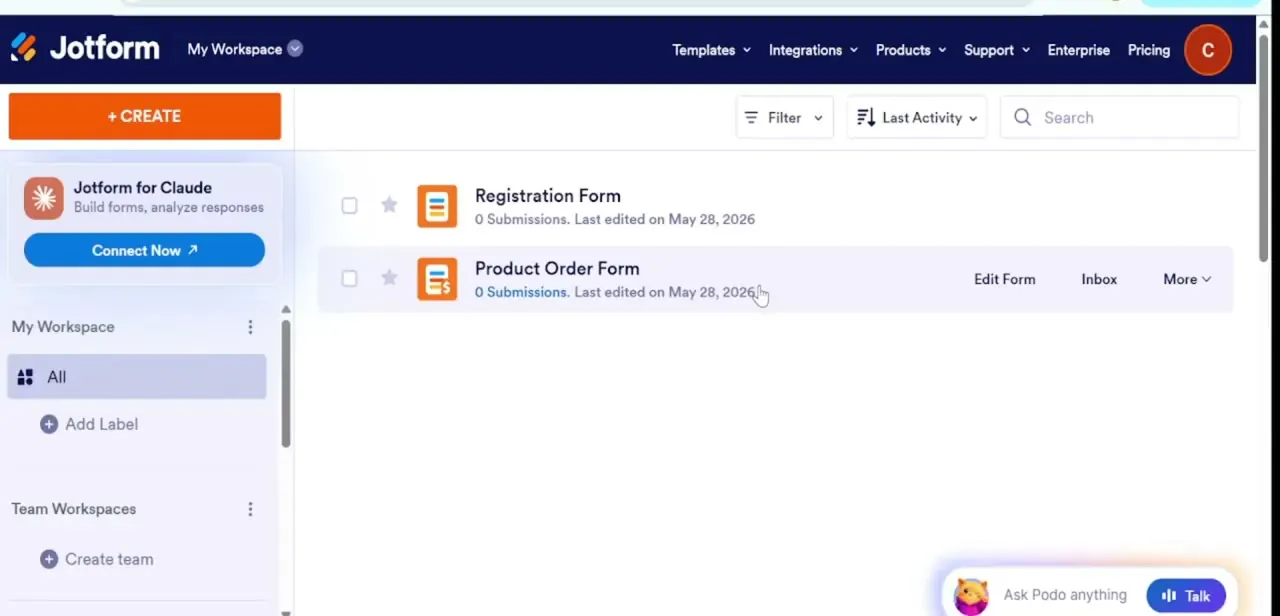
04Choose your target form and test
Select your target form from the dropdown, then run a connection test to fetch a recent submission sample.
05Map fields and activate
Select your action app, map the form fields to the target inputs, test the workflow loop, then name and activate your Zap.
Frequently asked questions
Which action apps can I send Jotform data to through Zapier?
Zapier supports thousands of action apps, including Google Sheets, CRMs, and email marketing tools, for routing your form submissions.
Does the trigger fire for every new submission automatically?
Yes, once your Zap is active, the New Submission trigger fires automatically each time someone completes your form.
Can I test the connection before going live?
Yes, Zapier lets you run a connection test to pull a recent submission sample and verify your field mapping before activating the Zap.
Do I need coding skills to set this integration up?
No, the entire process happens through Zapier's visual workflow builder without writing any code.
Watch the full walkthrough
The same steps, demonstrated on screen from start to finish.