Easy Tech Tuts
How to Add Images to a Microsoft Loop Page Easily 2026
By Impran M N
Text-only Loop pages can be hard to scan when you're documenting mockups, screenshots, or visual references. A wall of bullet points forces readers to imagine what you mean, while a well-placed image settles the question in a glance. This guide walks through inserting an image into a Loop page from your own files, resizing it to fit the surrounding layout, and captioning it so the context survives even after the page has been edited a dozen more times by other people.
01Open your workspace and pick the page to edit
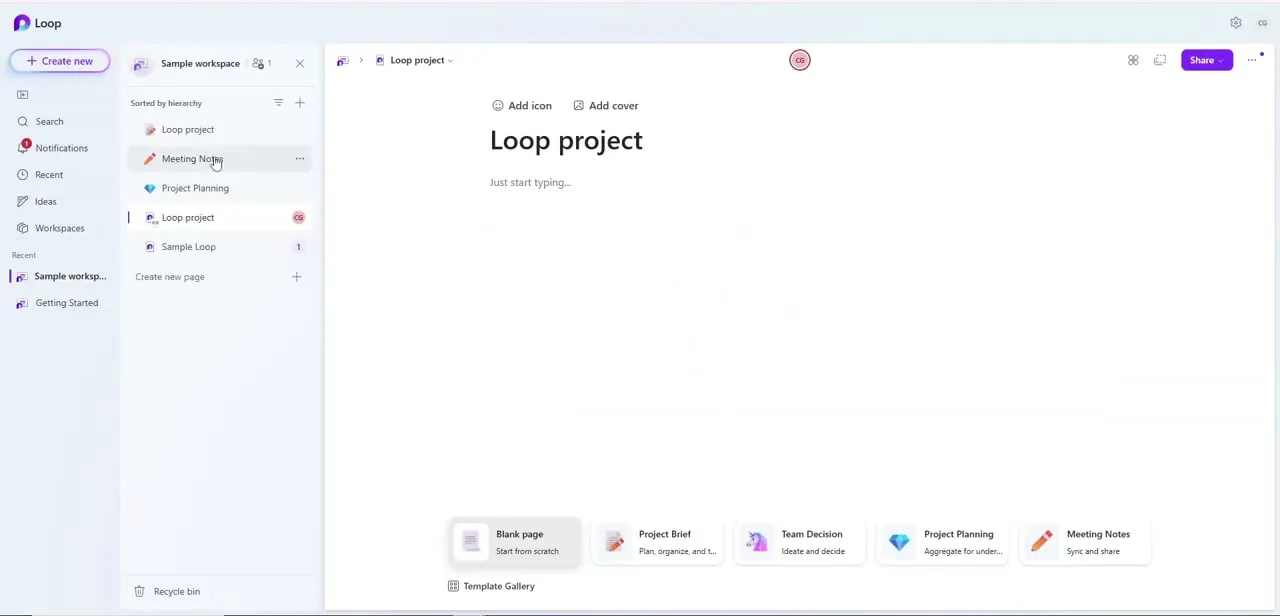
Loop organizes everything around a left-hand sidebar listing your pages under "Sorted by hierarchy" — things like Loop project, Meeting Notes, and Project Planning sit side by side, and clicking any one opens it in the main canvas on the right. New pages start blank with an "Add icon" and "Add cover" prompt above the title and a plain "Just start typing..." placeholder below it, which is exactly where the image work happens. If you don't already have a page for this, use Create new page at the bottom of the sidebar or start from one of the built-in templates like Project Brief or Meeting Notes rather than a fully blank canvas.
02Place your cursor and open the media block
Click onto an empty line where you want the image to sit — after a heading, or on its own line between paragraphs — then type a forward slash to bring up Loop's command menu. Typing image or media narrows the list to the media insertion block; selecting it swaps that line for an upload container rather than inserting anything yet. This slash-command pattern is the same one Loop uses for headings, tables, and other structured content, so once you've used it for an image you'll recognize it everywhere else in the app.
03Browse for a local file and upload it
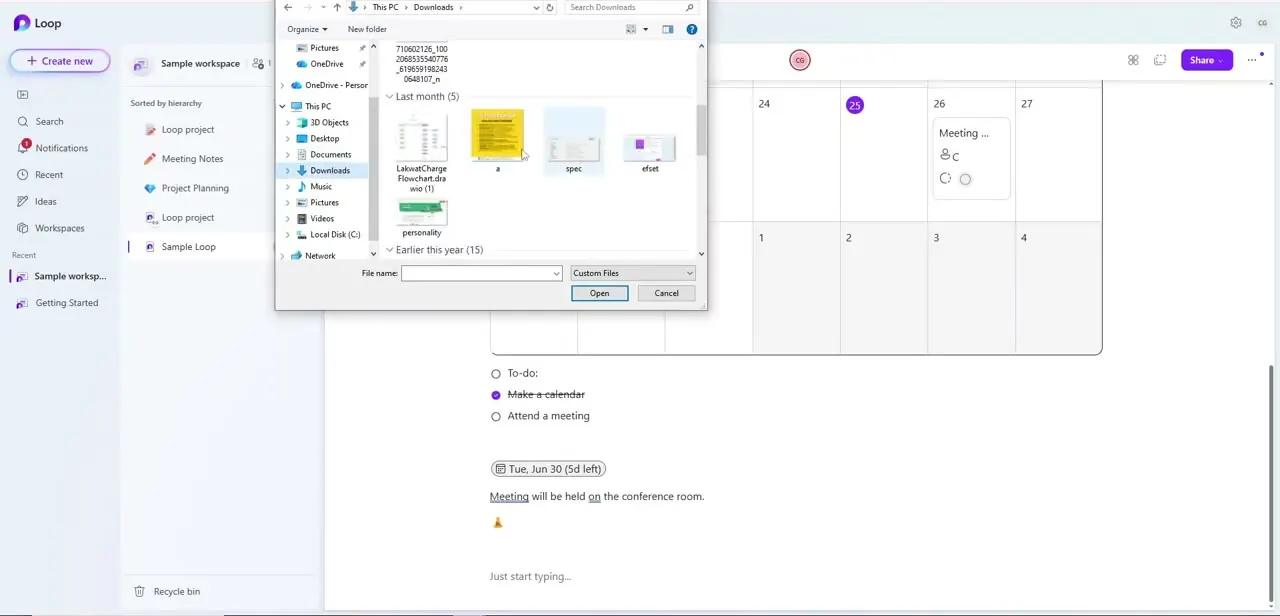
Choosing the local upload option inside the media block opens your operating system's standard file picker, exactly the same Open dialog you'd see in any other Windows application. From there you can navigate to Downloads, Pictures, or wherever the image actually lives, and either double-click the file or select it and hit Open. Loop accepts common formats like JPEG and PNG without any conversion step, and the moment you confirm the selection, the file uploads and renders directly on the page in place of the empty container.
04Or paste a web link instead of uploading
If the image already lives online — a screenshot hosted on SharePoint, or a graphic pulled from a shared drive link — you don't need to download it first just to re-upload it. Paste the direct image URL into the same media block, and Loop fetches and renders it inline as long as the link points straight to an image file and isn't blocked behind a login. This path is faster for anything already shared with your team, but it does mean the image depends on that external link staying alive, so it's worth using local uploads for anything you don't want to risk going missing later.
05Resize and align the image to your layout
Click directly on the inserted image to select it, which reveals handles along its edges. Dragging a side handle scales the image's width, and Loop reflows the surrounding text and blocks automatically as you resize, so there's no separate step to fix the layout afterward. Keep images narrower than the full page width when they sit next to explanatory text, and let them run full-width when they're meant to be the main focus of that section — like a large mockup or a full-screen capture.
06Add a caption for context
Click just below the image to add a short caption line, describing what the image shows in one plain sentence rather than repeating the surrounding paragraph. This matters more on a collaborative page than it might seem — Loop pages get edited by multiple people over time, and a caption is often the only thing that still explains an image's purpose after the paragraph around it has been rewritten twice. A caption also does double duty as basic alt text, giving the image some descriptive value for anyone using a screen reader.
Frequently asked questions
Can I paste an image directly from my clipboard into Loop?
Loop supports dragging and dropping local image files, and pasting an image URL will auto-render the graphic, making both quick ways to get visuals onto a page.
Will my images stay aligned on mobile and desktop?
Loop's image blocks are designed to scale with the page layout, though it's worth checking how a resized image looks across devices before sharing widely.
Can I add alt text to images in Loop?
Yes, the caption field under an inserted image can double as descriptive context for accessibility and clarity.
Why isn't my image showing up after I paste a link?
Make sure the URL points directly to an image file and is publicly accessible, since broken or permission-restricted links won't render as a preview.
What image formats does Loop accept for local uploads?
Common formats like JPEG and PNG upload without any conversion, selected through your operating system's standard file picker just like attaching a file in any other app.
Watch the full walkthrough
The same steps, demonstrated on screen from start to finish.