Easy Tech Tuts
How to Make an Instagram Grid Post in Canva Easily 2026
By Impran M N
A grid post is one wide image designed to split across several Instagram tiles, so it reads as a single banner when someone lands on your profile instead of a random stack of squares. Canva makes this approachable because the design work and the splitting happen in the same place: you build one wide canvas, then hand it to an app that slices it into individually exportable pieces. This guide walks through setting up that canvas, designing across it, and using Canva's Image Splitter to generate the files you'll actually upload to Instagram, in order.
01Start a new wide canvas
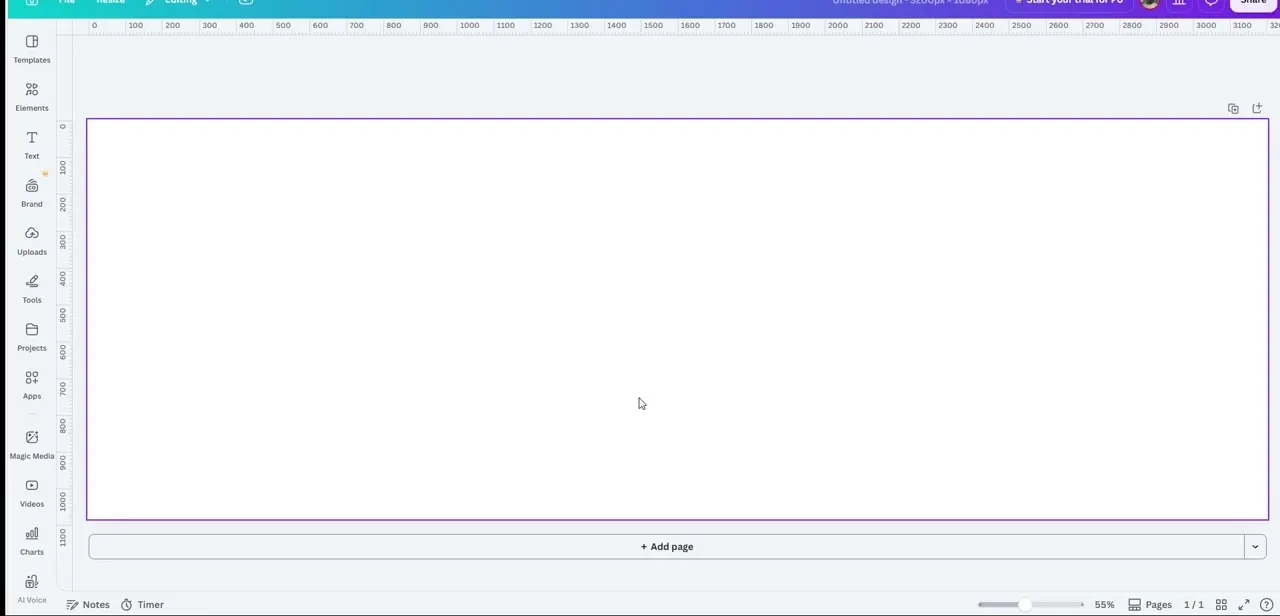
Open Canva and create a new design sized for a multi-tile layout rather than a single square post — a wide canvas, several times the width of one Instagram tile, is what lets the splitter divide it evenly later. You'll land on a blank page with the full toolkit down the left side: Templates, Elements, Text, Uploads, and Tools. Because the canvas is intentionally oversized, it's worth zooming out first so you can see the whole thing at once while you design, rather than working blind on a page that scrolls past the edges of your screen.
02Design across the full width
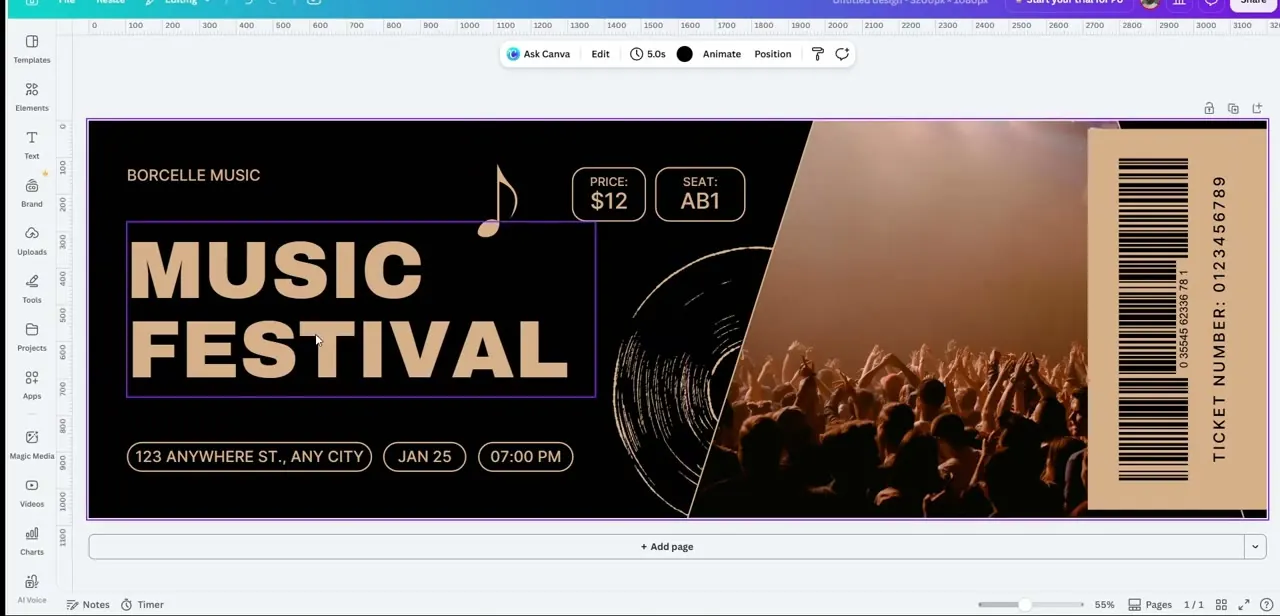
Treat the canvas as one continuous scene rather than several separate posts glued together — text, graphics, and photos should flow across the width so the split doesn't cut through anything awkwardly. Drag in a background image, layer your headline and supporting text where they won't land right on a tile seam, and use Canva's alignment guides to keep everything positioned deliberately rather than eyeballing it. It helps to sketch mentally (or literally) where each tile boundary will fall before you place text, since a headline that straddles two tiles can look broken once it's split and posted as separate images.
03Open the Image Splitter app
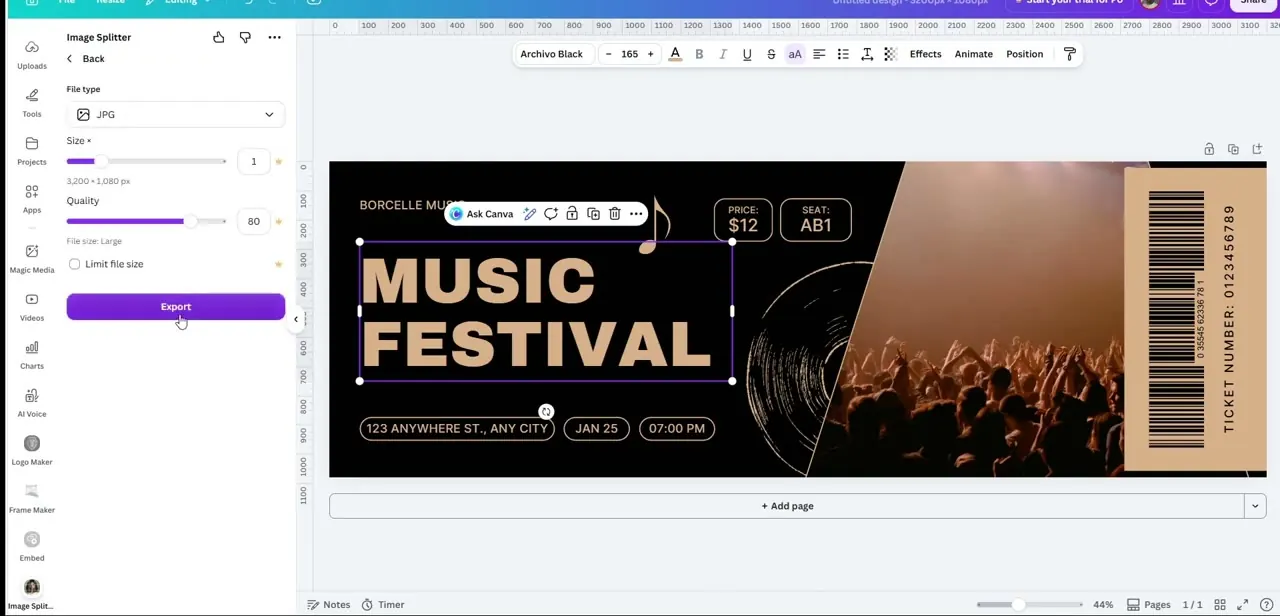
With the design finished, search Canva's Apps panel for Image Splitter and open it against your canvas. The panel gives you control over file type — JPG is the standard choice for Instagram — along with size and quality sliders that determine how large and how sharp each exported tile will be. Keep quality high unless file size is a real constraint, since Instagram will compress the image again on upload and starting from a soft export only compounds that loss.
04Generate and review the split pieces
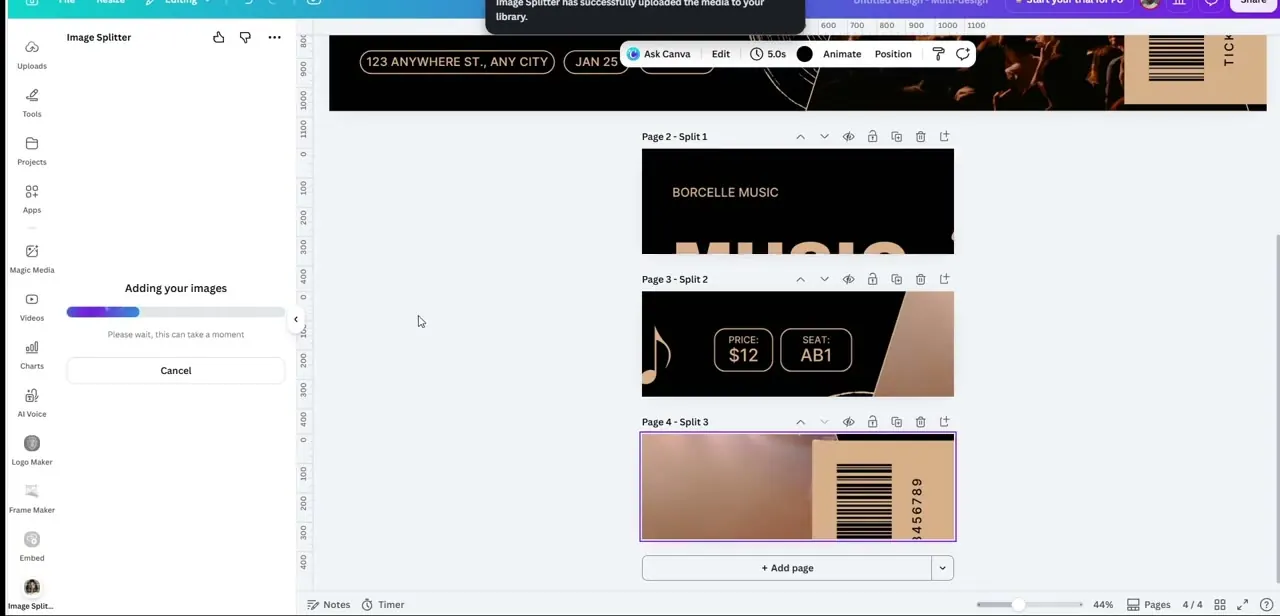
Run the splitter and Canva adds new pages to your project, each one a numbered slice of the original design — Split 1, Split 2, Split 3, and so on, in the order they'll need to be posted. A short processing step uploads the pieces to your media library automatically, and you can preview each page in the sidebar before exporting to confirm nothing got cut in an awkward spot. This is the moment to catch problems: if a face or a line of text got split across two tiles in a way that reads poorly, it's faster to fix now than after you've already scheduled the posts.
05Export each tile in the right order
Download each split page individually, and label the files with a number prefix as you save them — 1-grid.jpg, 2-grid.jpg, and so on — so you don't lose track of the order once they're sitting in your camera roll or a shared folder. This step matters more than it sounds: Instagram grid posts only work if the tiles go up in the exact sequence they were split, and one out-of-order upload undoes the whole effect of the design.
06Post the tiles in sequence
Upload the pieces to Instagram back-to-back, in split order, ideally close together in time so the grid reads as intentional rather than a slow reveal. Some creators post right to left or bottom to top depending on how their grid is meant to be read, since Instagram profiles display posts in reverse-chronological order — plan your posting sequence around that before you start uploading, not after the first tile is already live.
Frequently asked questions
Do I need a Canva Pro subscription to split an image into a grid?
The Image Splitter app is available from Canva's Apps panel and works on a standard design; check your plan for any export limits, but the core splitting and design tools don't require the top-tier plan.
What size should my canvas be for a 3-tile grid post?
Set the canvas width to three times an Instagram tile's width at the same height, so the Image Splitter can divide it into three even, square-ish pieces.
Why did my grid post look wrong after uploading?
The most common cause is posting the tiles out of order or with a delay between them — Instagram displays posts in reverse-chronological order, so plan your upload sequence to match how the design was split before you post the first tile.
Can I use a photo instead of a graphic design for a grid post?
Yes — upload a wide photo to your canvas, size the canvas to match its proportions, and run it through Image Splitter the same way you would a text-and-graphic design.
Does a grid post help engagement?
A cohesive, deliberately designed grid tends to make a profile look more polished at a glance, which can encourage a new visitor to keep scrolling and follow — though results vary by audience and content type.
Watch the full walkthrough
The same steps, demonstrated on screen from start to finish.