Easy Tech Tuts
How to Connect Claude AI to Canva | Design Automation Setup | Easily 2026
By Impran M N
Connecting Claude to Canva means you can describe a design in plain language and have Claude work with your Canva account directly, instead of exporting ideas from one app and rebuilding them in another. The setup is a short authorization inside Claude's settings, and once it's active, a small confirmation in the corner is all that tells you it worked.
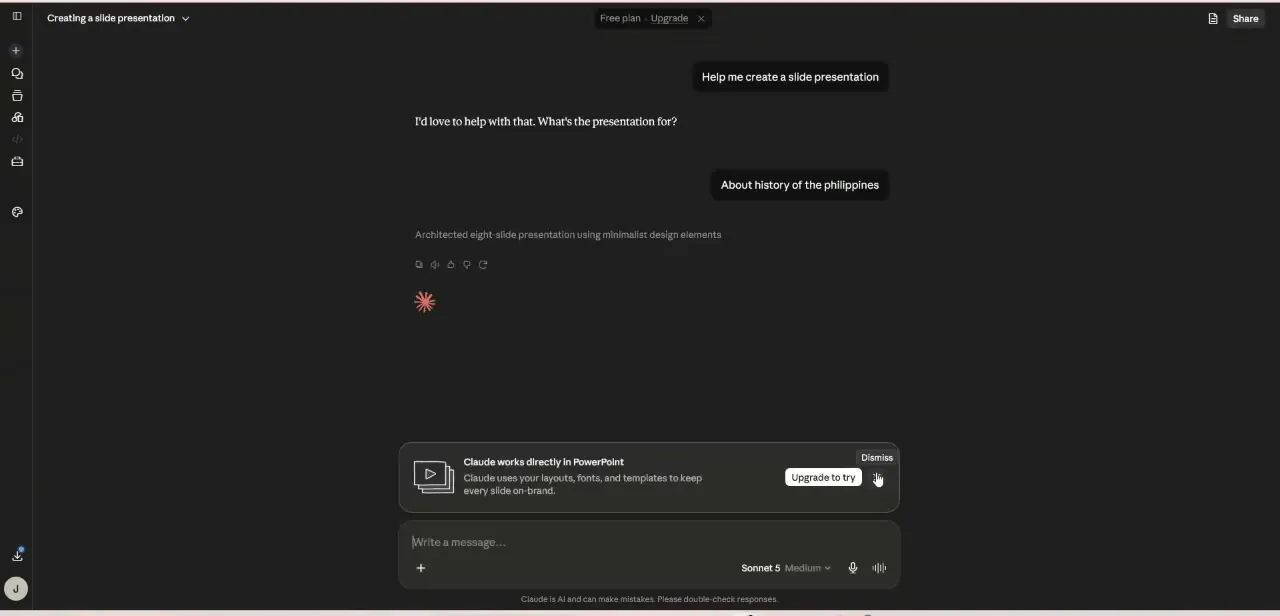
This guide covers where the Canva connector actually lives, what the connection looks like once it's live, and how to put it to work generating on-brand visuals for campaigns without starting every design from a blank canvas. It also covers how to keep results consistent once you're generating more than one asset at a time, which is where a lot of AI-assisted design starts to look inconsistent if you skip the setup work.
01Open your Canva account first
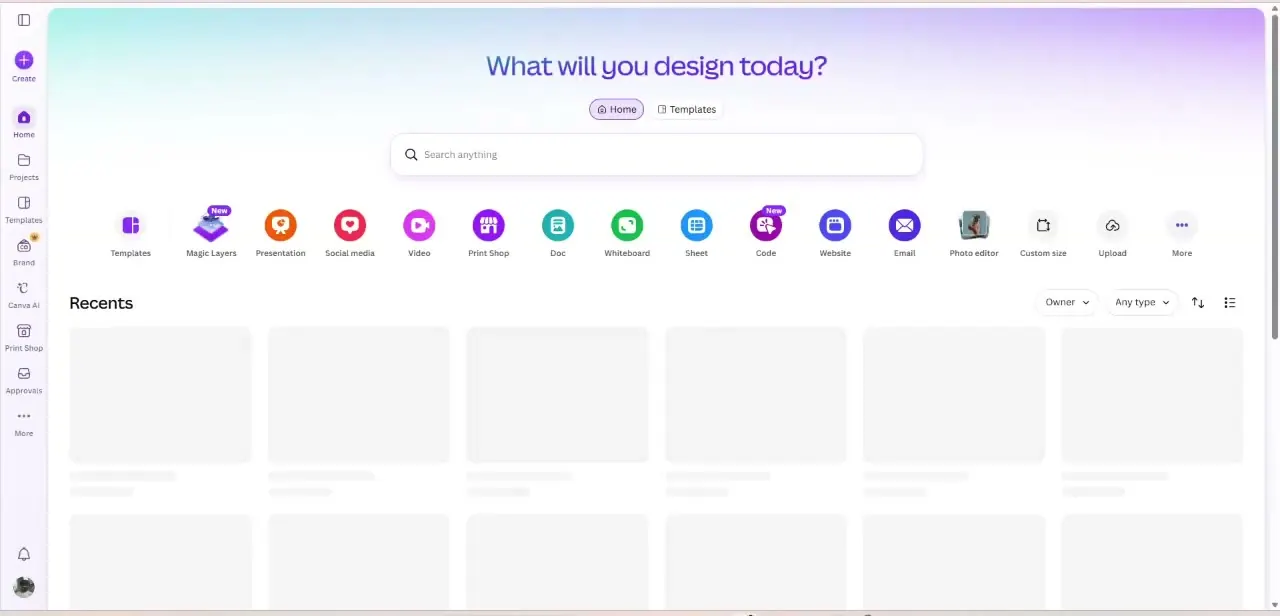
Before connecting anything, sign into Canva and land on its home screen — "What will you design today?" — so you can see what you're working with: Templates, Presentations, Social media, Docs, Whiteboards, Sheets, and dozens of other project types across the top, plus your Recents below. You don't need to create anything yet, but having Canva open and signed in makes the authorization step that follows faster, since you'll be confirming access to an account you're already in. If your team shares a single Canva Brand account rather than individual logins, connect that shared account so the templates and brand kit Claude pulls from match what everyone else on the team is using.
02Find the connector in Claude's settings
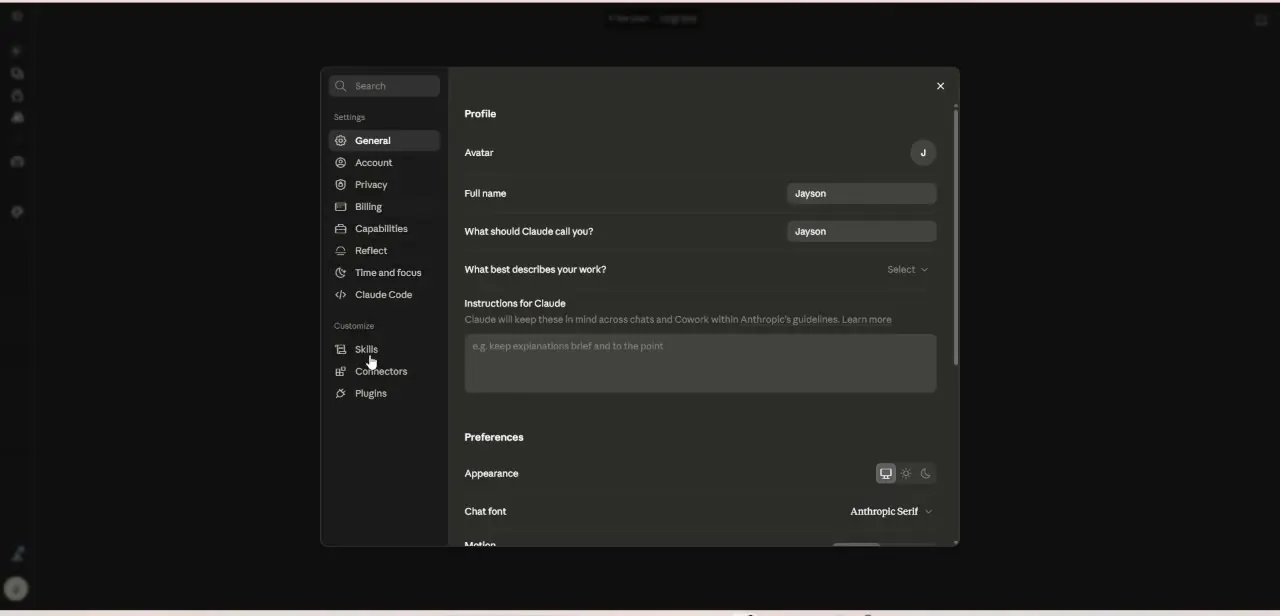
In Claude, open Settings from your account menu and stay on the General tab first — this is where your profile, what Claude calls you, and any standing instructions for Claude live. Connectors is listed just below Skills in the Customize section of the same sidebar, and that's the actual destination for adding Canva, but it's worth knowing General is right next to it, since that's also where you'd set instructions telling Claude about your brand voice or design preferences.
03Authorize the Canva connection
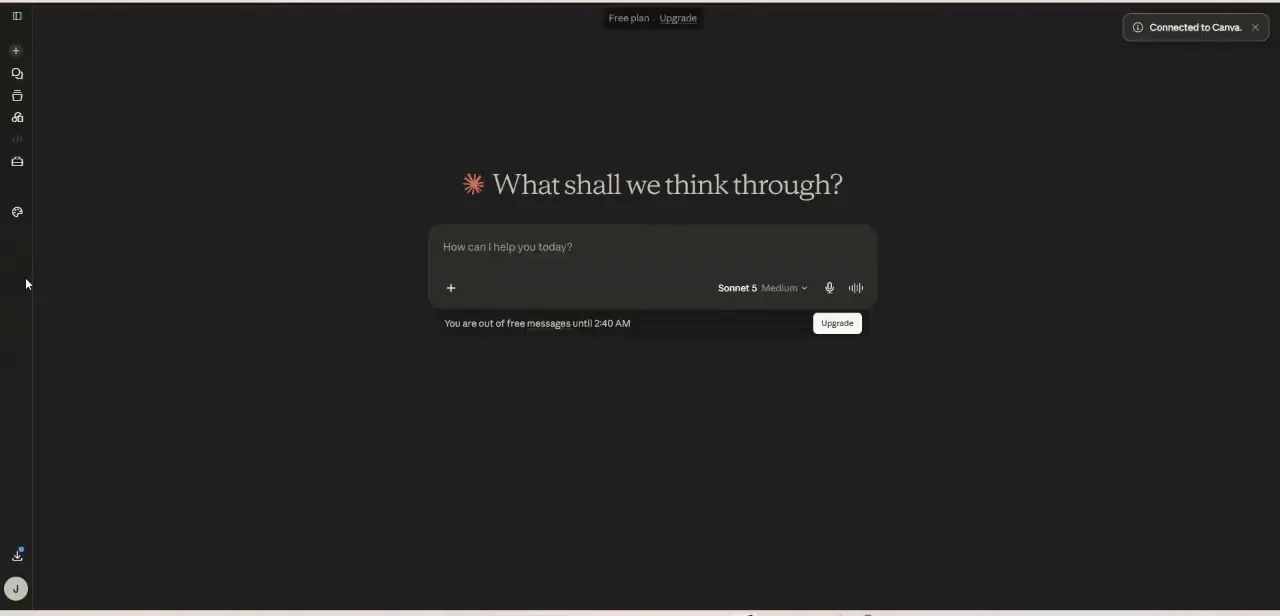
From Connectors, add Canva and complete its authorization flow — you'll confirm the Canva account to link and approve the permissions Claude is requesting, similar to any other OAuth-based connector. Once it's done, you'll see a small confirmation banner in the top-right corner of Claude reading "Connected to Canva," which is your signal the integration is live without needing to dig back into settings to check.
04Generate visuals through conversation
With Canva connected, describe what you need in plain language — a social post for a product launch, a slide layout for a pitch deck, a set of banner variations for a campaign — and Claude can work with Canva to produce it rather than you manually assembling elements. This is where the integration earns its keep for non-designers especially: you're describing an outcome, not operating design software, and Claude handles the translation between the two. Be as concrete as you would with a human designer — mention the platform the asset is for, the dimensions if you know them, and any text that must appear exactly as written, since vague requests produce vague first drafts regardless of which tool is generating them.
05Keep output consistent and on-brand
Feed Claude your brand details up front — colors, fonts, tone, any existing templates you want it to follow — either in the conversation itself or as standing instructions in Claude's General settings, so every generated design starts from the same baseline instead of drifting between requests. Reviewing and adjusting the first couple of outputs closely is worth the time, since it calibrates what Claude produces for the rest of a project.
06Fit this into a real design workflow
Use the integration for the repetitive, high-volume parts of design work — resizing a campaign across formats, generating variations for A/B testing, or producing a first draft you'll refine by hand — rather than expecting it to replace considered design decisions entirely. Marketers running frequent campaigns get the most out of this because the time saved compounds: a five-minute conversation replacing what used to be a half-hour manual build, repeated across every asset in a campaign.
07Know when to take over manually
Some tasks are still faster or more precise done by hand directly in Canva — fine-grained pixel alignment, intricate custom illustration, or a layout that needs to match an existing print spec exactly. Treat the Claude connection as the fastest path to a strong first draft, then drop into Canva's editor yourself for the final polish pass; that combination tends to beat either a fully manual build or a fully automated one on its own.
Frequently asked questions
Do I need design experience to use Claude with Canva?
No. The integration is built for describing what you want in plain language, so it works for complete beginners as well as designers looking to speed up repetitive work.
Where do I connect Claude to Canva?
In Claude's Settings, under Connectors — found in the Customize section of the settings sidebar, just below Skills.
How do I know the Canva connection actually worked?
Claude shows a small "Connected to Canva" confirmation banner in the top-right corner right after authorization completes.
How can marketers benefit from this integration?
It's especially useful for high-volume, repetitive design tasks — resizing a campaign across formats or generating on-brand variations for testing — without needing deep Canva expertise.
How do I keep generated designs on-brand?
Give Claude your brand colors, fonts, and tone up front, either directly in the conversation or as standing instructions in Claude's General settings, so every design starts from the same baseline.
Watch the full walkthrough
The same steps, demonstrated on screen from start to finish.